Background
I’ve spent the last 3-4 years doing my WordPress development in the Cloud9 IDE (c9.io) until Amazon AWS bought it, fucked up a perfectly good and extremely simple, usable IDe, and now shut down the original service.
I am in the process I switching over to the Codeanywhere IDE as my replacement WordPress development environment, however, I decided it’s time to setup a secondary/backup environment. And being a user of Windows I needed an WAMP (Windows, Apache, MySQL, PHP) style solution to suite.
In the past I’d tried WampServer on my secondary laptop but after leaving and coming back to it, it worked no more. Also, I found it more complicated than I wanted to configure (I hate complicated, particularly in development environments.
So this time I tried something different: XAMPP.
System/XAMPP Setup and Configuration
Setup it really easy. Just go to https://www.apachefriends.org/, select the download for you operating system (in my case Windows) and install.
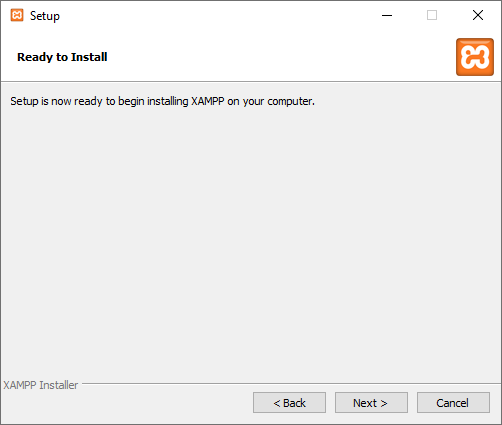
For Windows do the default install, as the following screenshots show.
Step 1:
Step 2:
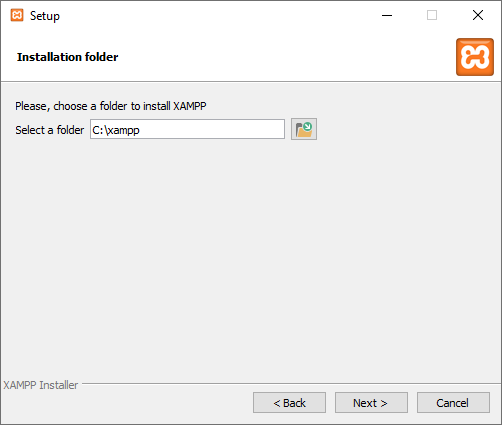
Step 3:

Step 4:
Step 5:

Step 6:
Step 7:
Step 8:
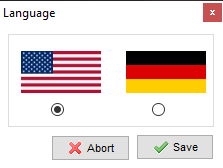
Step 9 (select your language – English or German):
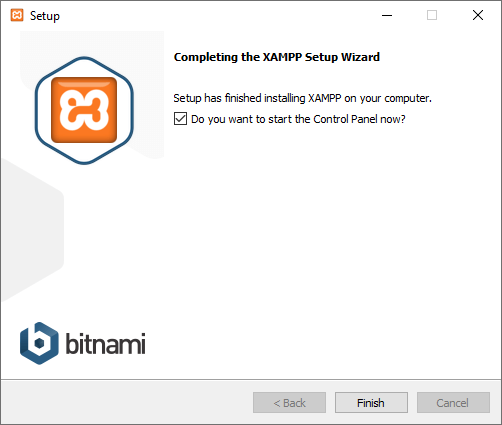
Step 10: If you ticked “Do you want to start the Control Panel now?” in step 8 then the control panel should start and appear. Services will not start by default (there is an option for that in the control panel Config though).
See the next section for running Apache beside IIS.
Conflicts with IIS
If you have IIS installed (as many software developers with Windows will) then you will have conflicts on Port 80. The XAMPP FAQ suggests disabling IIS, but if you’re also a .NET developer like me then you most likely need IIS.
I chose to instead change the port XAMPP uses and this page – How to: Change Your Apache Listen Port Number in XAMPP – Alex Justesen – has all the information you need.
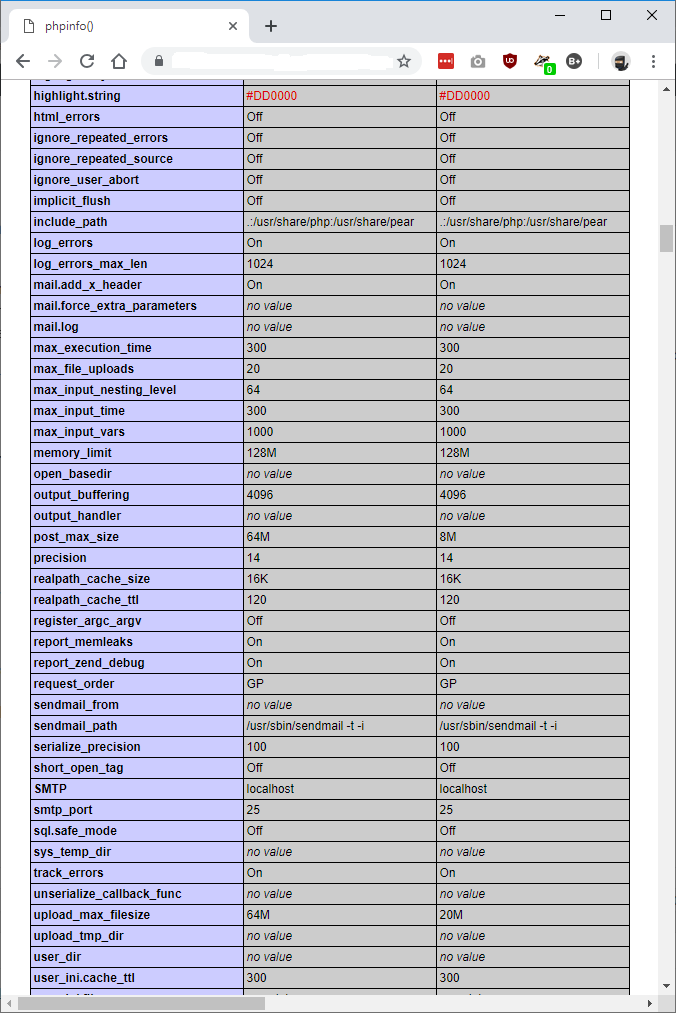
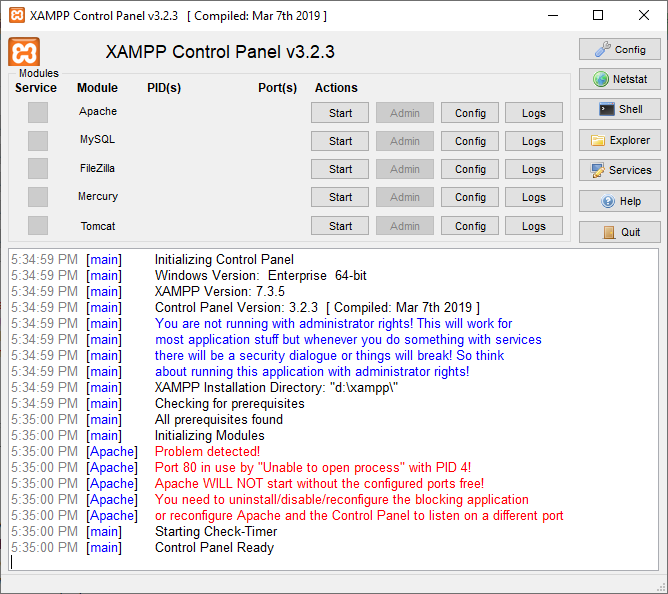
When XAMPP Control Panel first loads you will probably see the following errors:
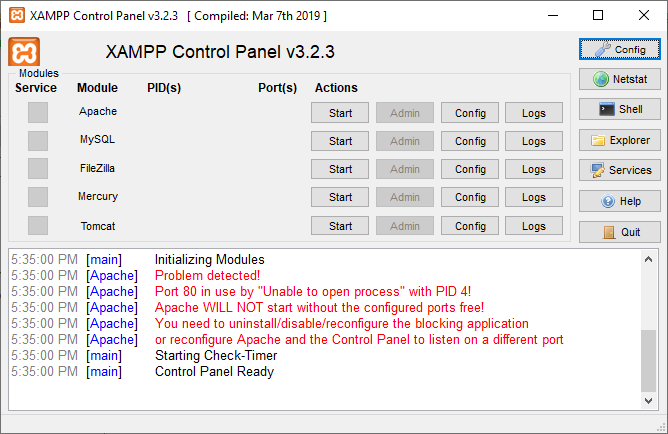
This is the full log text:
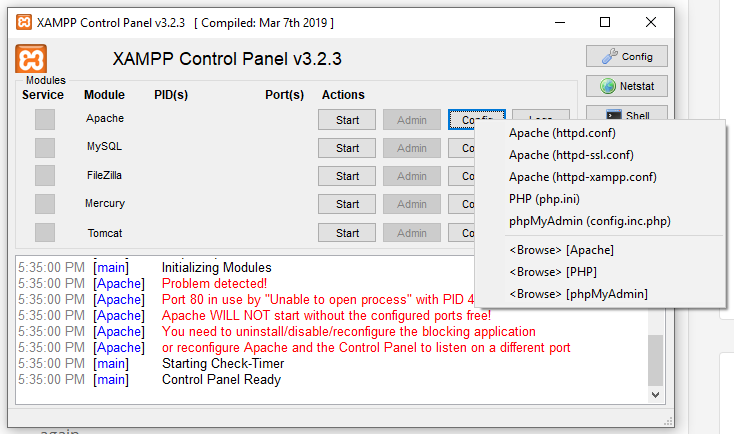
When following the “Alex Justesen” blog post above, the following screenshot show the Apache “Config” and httpd.conf option you need to select.
The general configuration screen for XAMPP (note: I changed my editor from notepad.exe to Notepad++). This is the screen with the “Service and Port Settings” button the “Alex Justesen” post references:
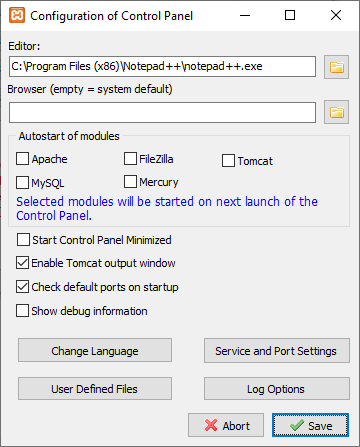
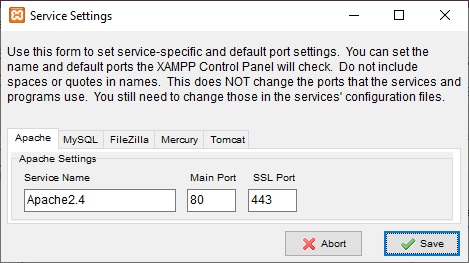
The “Service and Port Settings” screen referenced by the “Alex Justesen” post. I changed “Main Port” to 8080 and “SSL Port” to 4443
Once you finish the the “Alex Justesen” post you can come back to the main XAMPP Control Panel and start Apache and MySQL using the “Start” buttons beside each service:
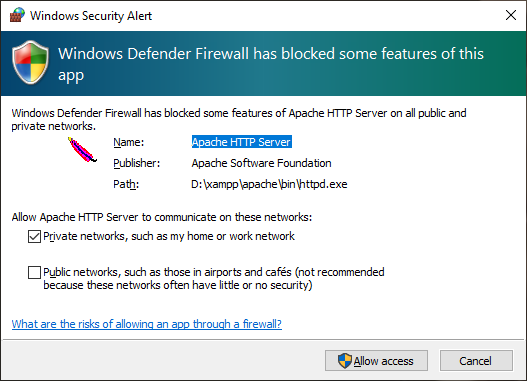
When starting Apache for the first time you will see the following Windows Security Alert. Select “Allow access” for the service to run:
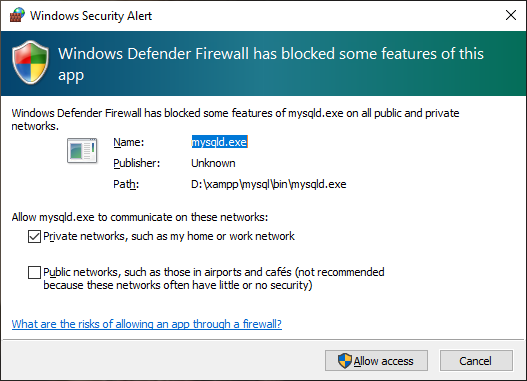
When starting MySQL for the first time you will see the following Windows Security Alert. Select “Allow access” for the service to run:
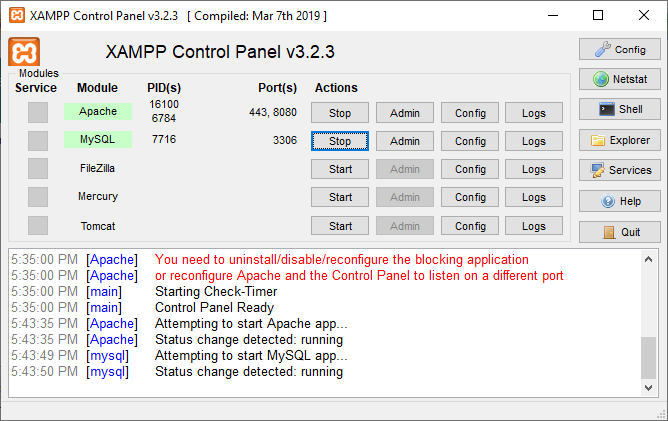
You should now see the following success status and logs in XAMPP Control Panel after starting Apache and MySQL:
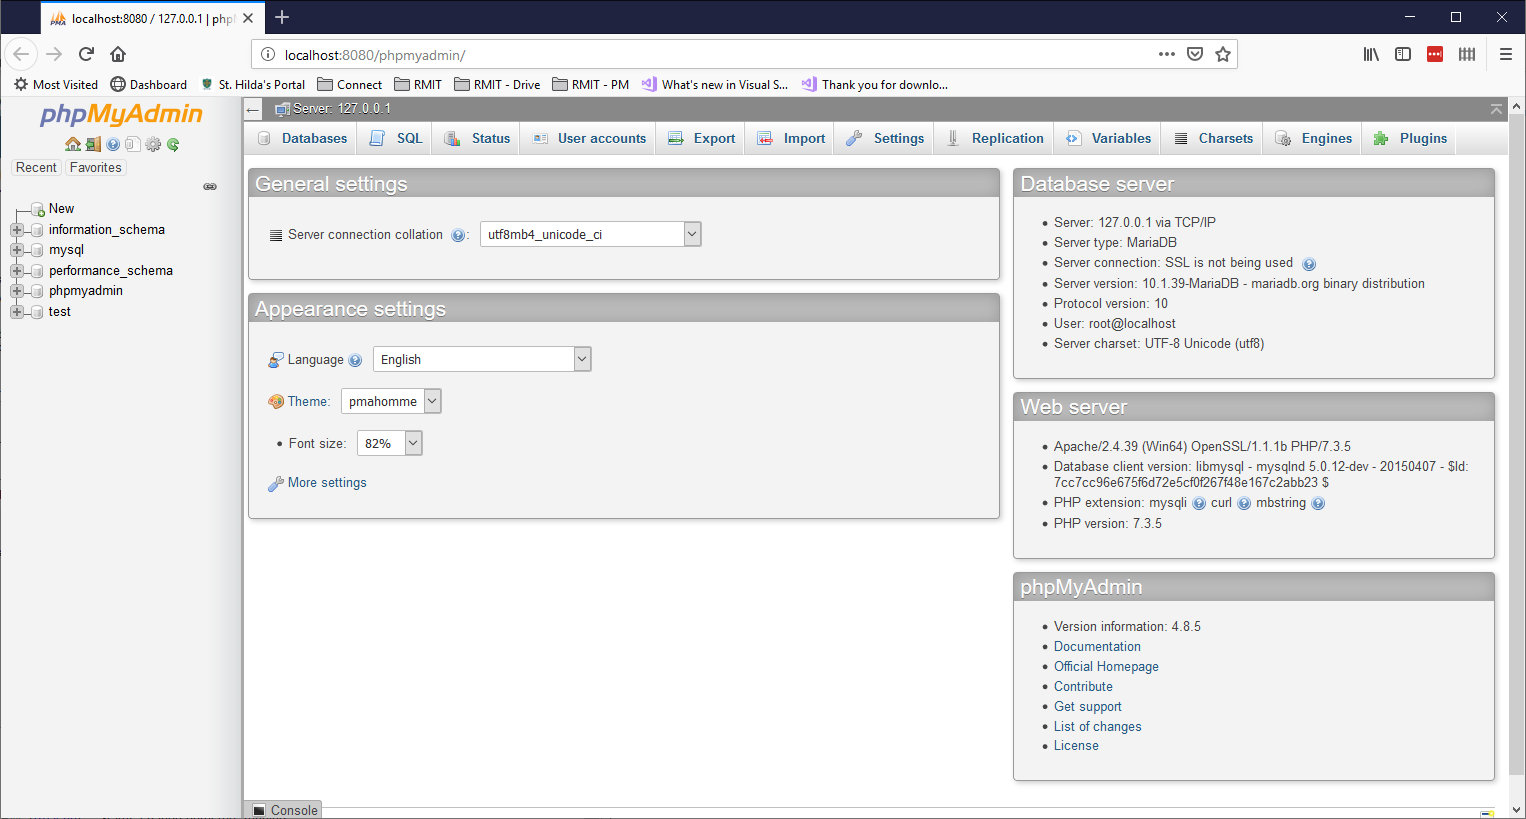
Select the “Admin” button on the MySQL line to easily open phpmyadmin (you will need this in the section “Setup WordPress”). Note it loads in localhost on your new port:
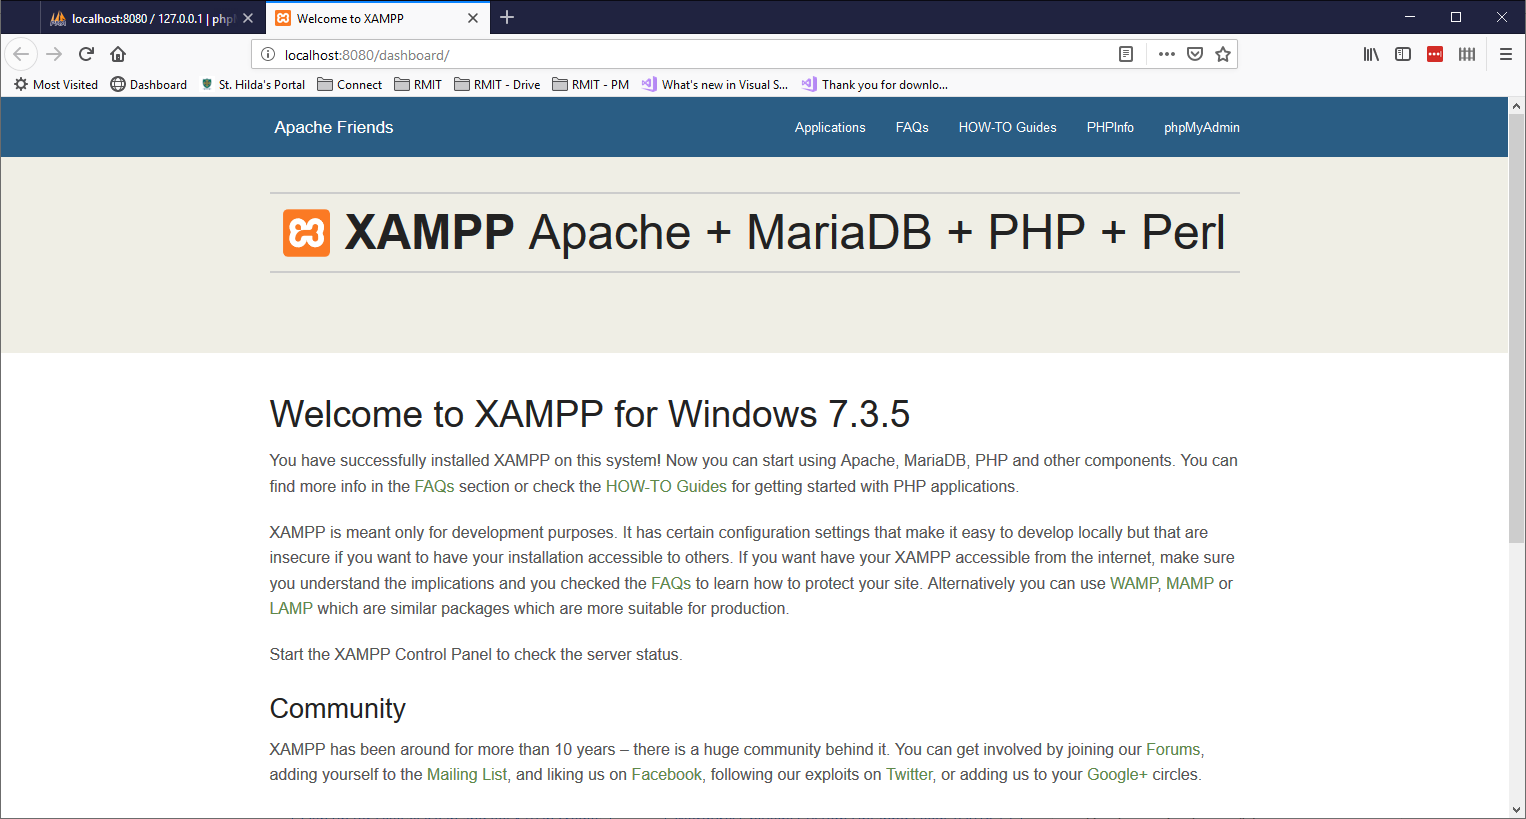
Select the “Admin” button on the Apache line to easily open XAMPP Dashboard page:
XAMPP Control Panel Shortcuts
There are no shortcuts installed to the XAMPP Control Panel (as far as I can tell), so look for xampp-control.exe in your XAMPP installation directory – likely C:\xampp if you use the default install directory.
You will need to run the .exe directly or create your own shortcut to it.
Setup Multiple Sites/Ports in XAMPP
Setting up multiple sites in XAMPP (running localhost on multiple ports) was easy.
I followed the following 2 pages:
- How to setup xampp with multiple ports [Windows] – Wattana Ruengmucha – Medium
- Setup multiple sites on your local machine using XAMPP or Apache | JavaScript & PHP Experts
What you nee to do:
- Open “C:\xampp\apache\conf\httpd.conf” (you can do this via the Apache “Config” button in the XAMPP Control Panel.
- Look for the line “Listen 80”. Add new Listen lines for any other ports you want to listen for (e.g. I started with 8080 to replace 80, and now I’m adding 8081).
- Open “C:\xampp\apache\conf\extra\httpd-vhosts.conf”.
- Everything will be commented out, but at the end there is a VirtualHost example like this:
##<VirtualHost *:80>
##ServerAdmin webmaster@dummy-host2.example.com
##DocumentRoot "D:/xampp/htdocs/dummy-host2.example.com"
##ServerName dummy-host2.example.com
##ErrorLog "logs/dummy-host2.example.com-error.log"
##CustomLog "logs/dummy-host2.example.com-access.log" common
##</VirtualHost>
- Copy and un-comment the entry, then adjust as needed. I created a new site root folder at “C:/xampp/htdocs/8081”, so my entry looks like:
<VirtualHost *:8081> ServerAdmin webmaster@dummy-host2.example.com DocumentRoot "D:/xampp/htdocs/8081" ServerName dummy-host2.example.com ErrorLog "logs/dummy-host2.example.com-error.log" CustomLog "logs/dummy-host2.example.com-access.log" common </VirtualHost> - “Stop” then “Start” Apache in XAMPP Control panel and you should be good.
Setup a DocumentRoot outside of XAMPP ‘htdocs’
I needed to the root document of a site to a folder outside the standard XAMPP installation ‘htdocs’ folder (i.e. pointing to a workspace for my source controlled files).
I followed all the steps above but received the following 2 errors when setting up another environment:
Access forbidden!
You don't have permission to access the requested directory. There is either no index document or the directory is read-protected.

If you think this is a server error, please contact the webmaster.

Error 403
localhost
Apache/2.4.39 (Win64) OpenSSL/1.1.1b PHP/7.3.5
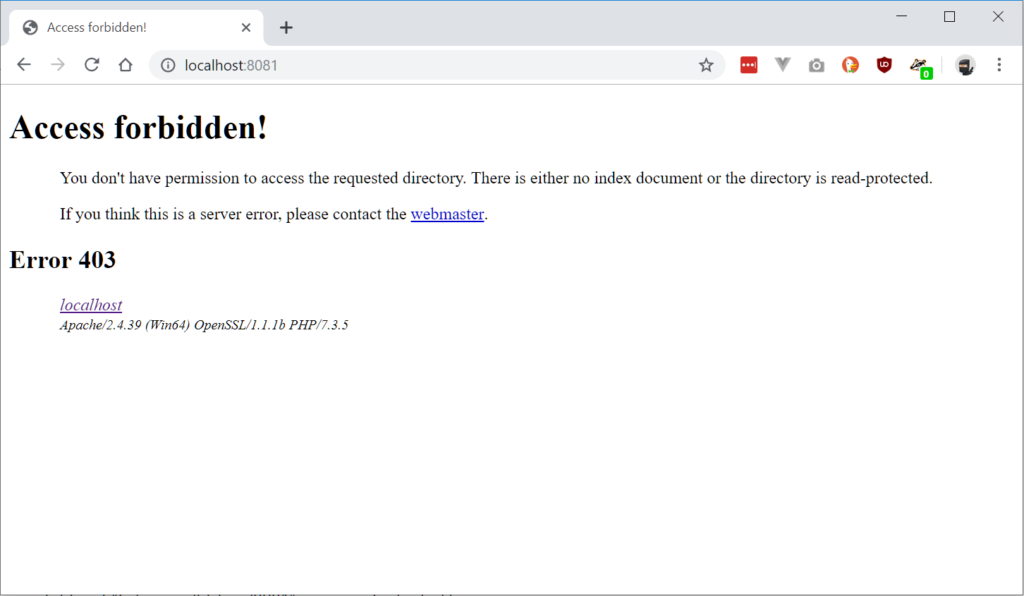
(Resource used: https://stackoverflow.com/questions/17816732/xampp-access-forbidden-php)
and later followed by:
Object not found!
The requested URL was not found on this server. The link on the referring page seems to be wrong or outdated. Please inform the author of that page about the error.

If you think this is a server error, please contact the webmaster.

Error 404
localhost
Apache/2.4.39 (Win64) OpenSSL/1.1.1b PHP/7.3.5
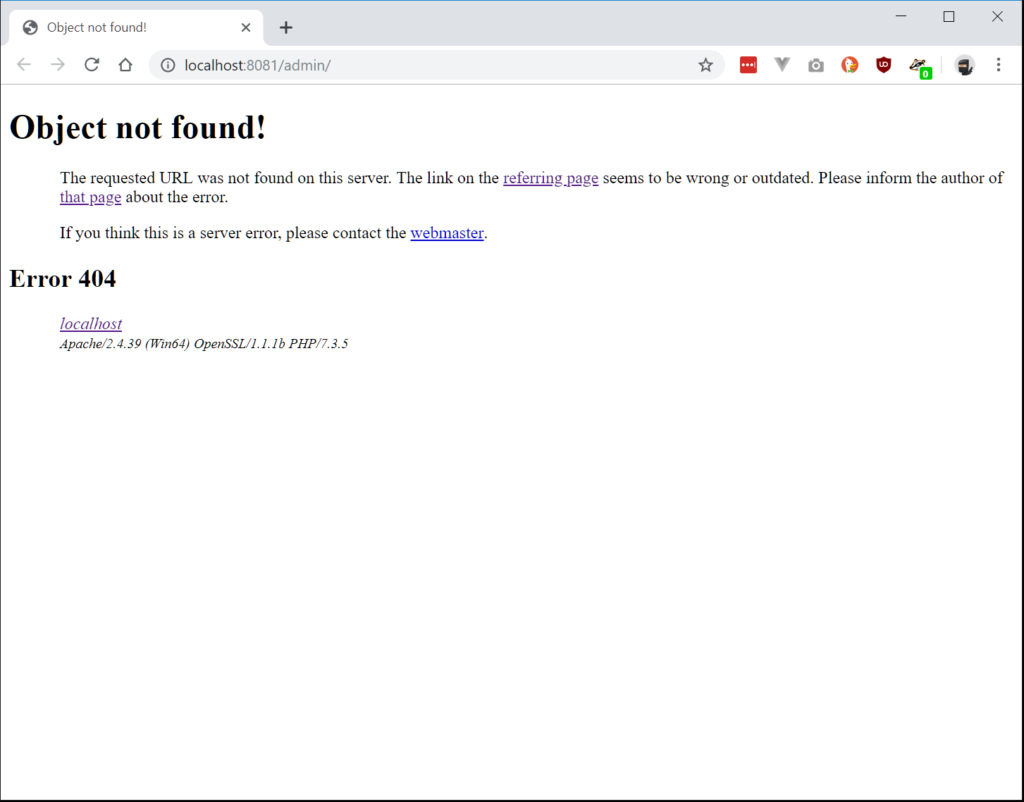
(Resource Used: https://stackoverflow.com/questions/17129612/xampp-localhost-returns-object-not-found-after-installing-laravel)
To resolve the issues I ended up with the following VirtualHost configuration:
<VirtualHost *:8081>
    DocumentRoot "C:/Workspaces/my-project"
    ErrorLog "logs/8081-error.log"
    CustomLog "logs/8081-access.log" common

    <Directory C:/Workspaces/my-project/>
        AllowOverride All
        Require all granted
    </Directory>
</VirtualHost>
Note the <Directory></Directory> element with ‘AllowOverride’ and ‘Require’ lines. That fixed it.
Setup WordPress
Note: I have core WordPress and all plug-ins under source control.
Steps to get WordPress running:
- Login to phpmyadmin for MySQL. You can do this via the “Admin” button beside MySQL in the XAMPP Control Panel.
- Create a new database for your WordPress installation.
- (I tried creating a new user to user as the DB user in WordPress but couldn’t get it working, so I’m just using root in this environment.
- Setup your site files in the website folder. In my environment C:\xampp\htdocs is the root web folder. I created a sub-folder for my WordPress site and cloned my Git repo in there.
- Browser to your site. My apache is running under for 8080 and my site is in a folder called “portal”, so I browser to http://localhost:8080/portal.
- Go through the usual process for setting up a new WordPress website.
- In the screen for database settings, enter the name of the database you created.
- Set the username to “root” and leave password blank.
- Leave host name as “localhost”.
- Your WordPress site should be good to go!
The following screenshots show the standard setup screens for a new WordPress site.
Step 5a – Select a language:

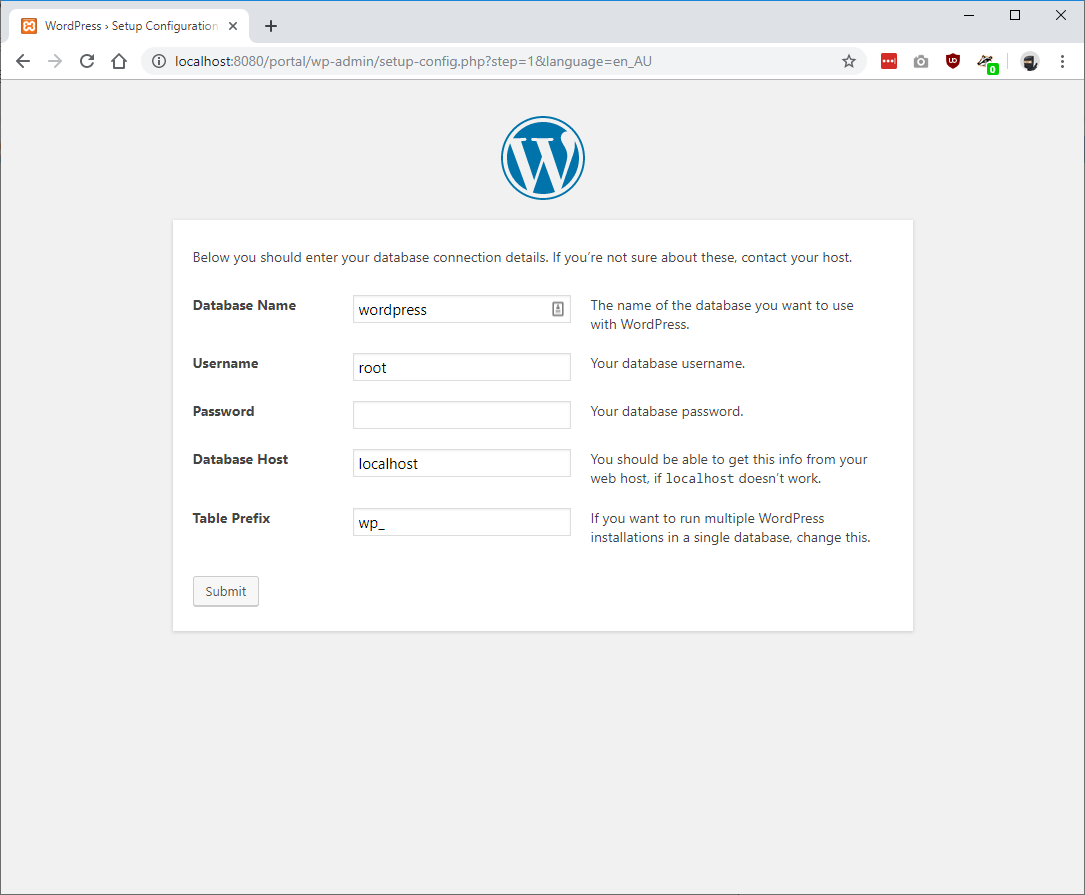
Step 5b – Enter your database connection details. I went with the “root” user (no password) that is created when installing MySQL with XAMPP. You will need to first create a database via the phpmyadmin interface (see steps 1 and 2):
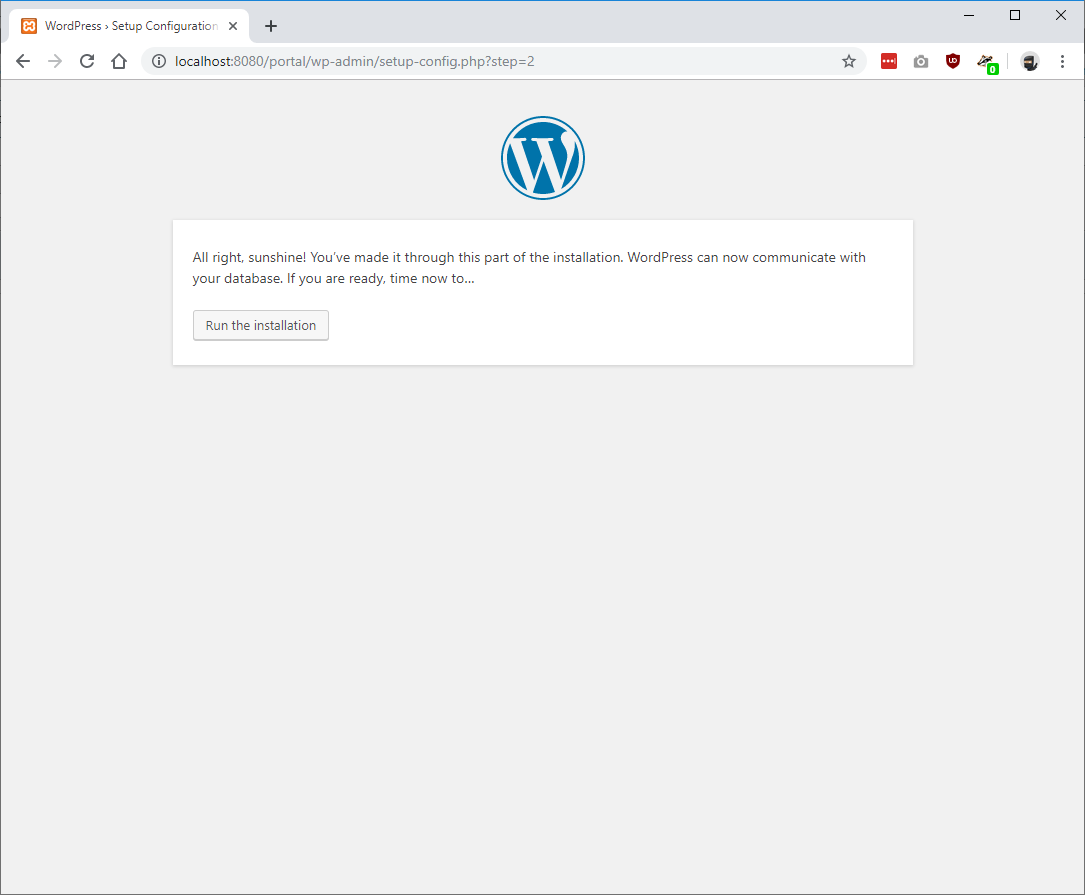
Step 5c – WordPress should now be good to setup:
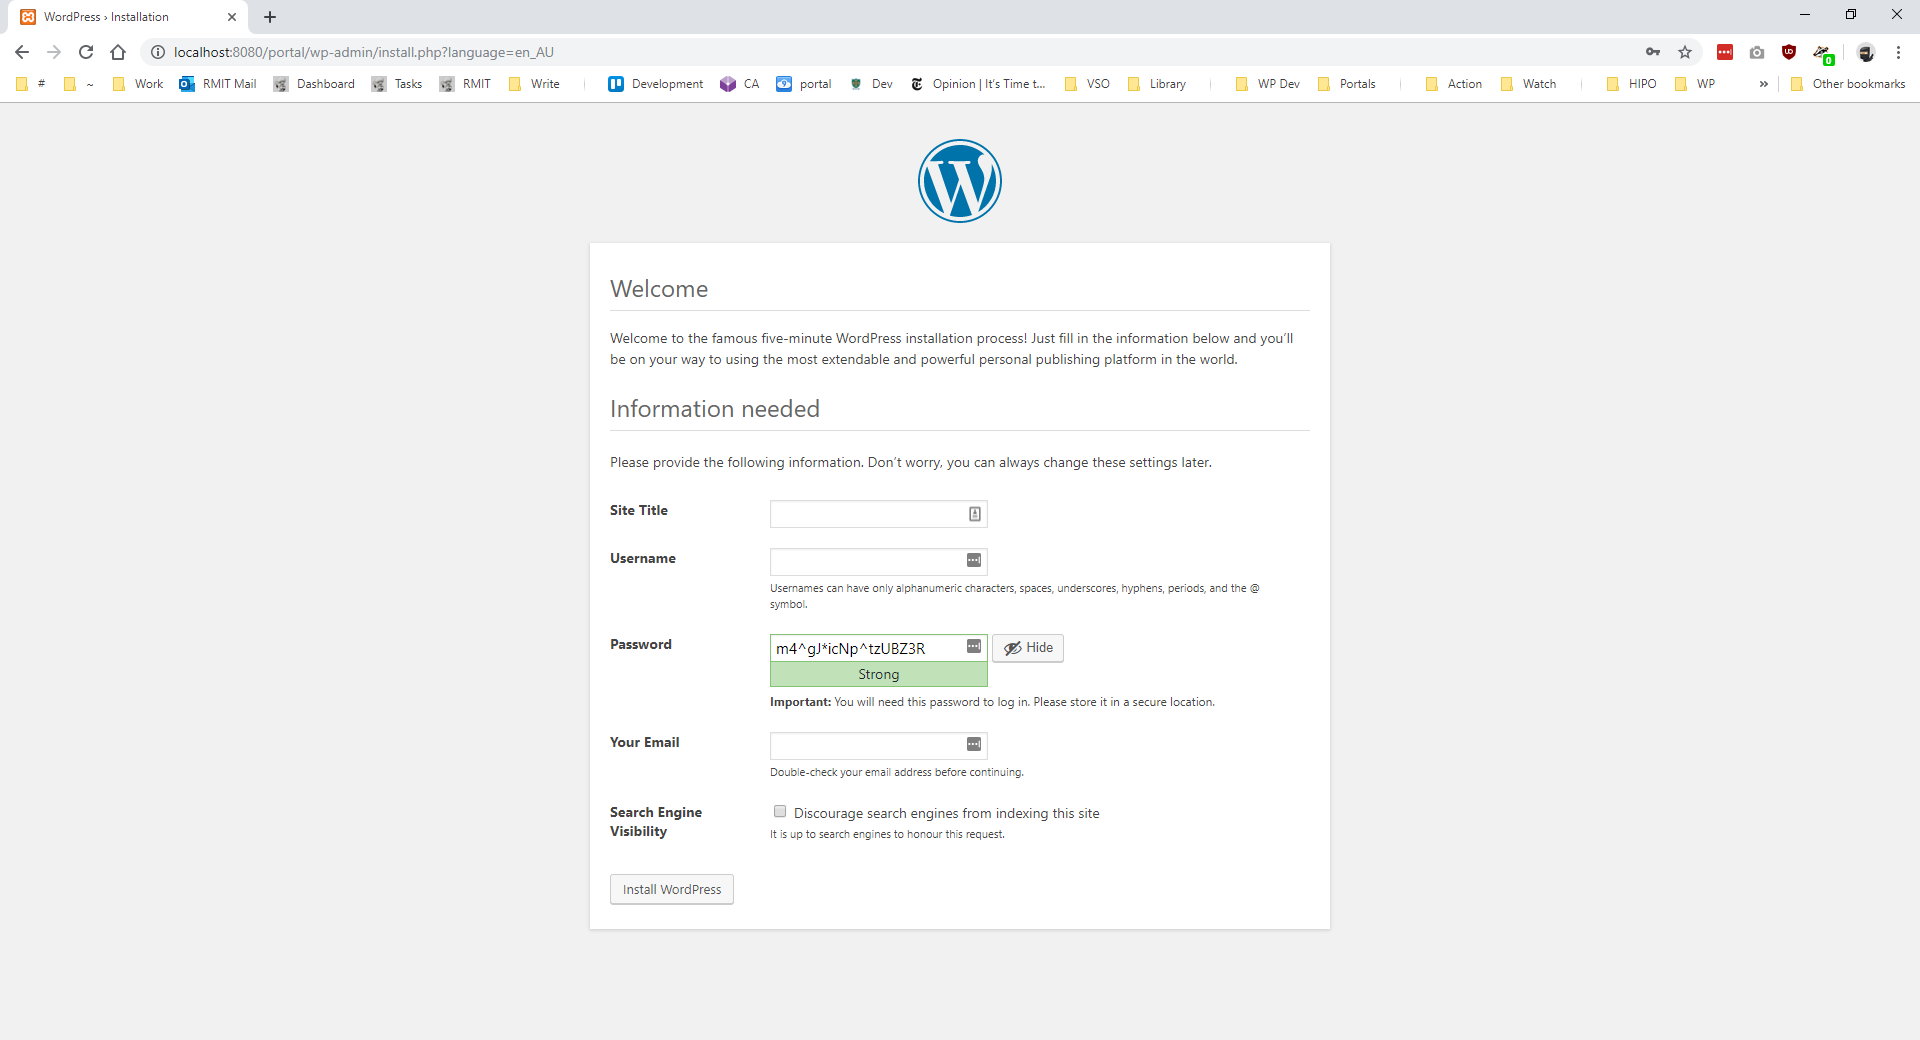
Step 5d – Create your first admin user:
Step 5e – WordPress should be successfully setup:
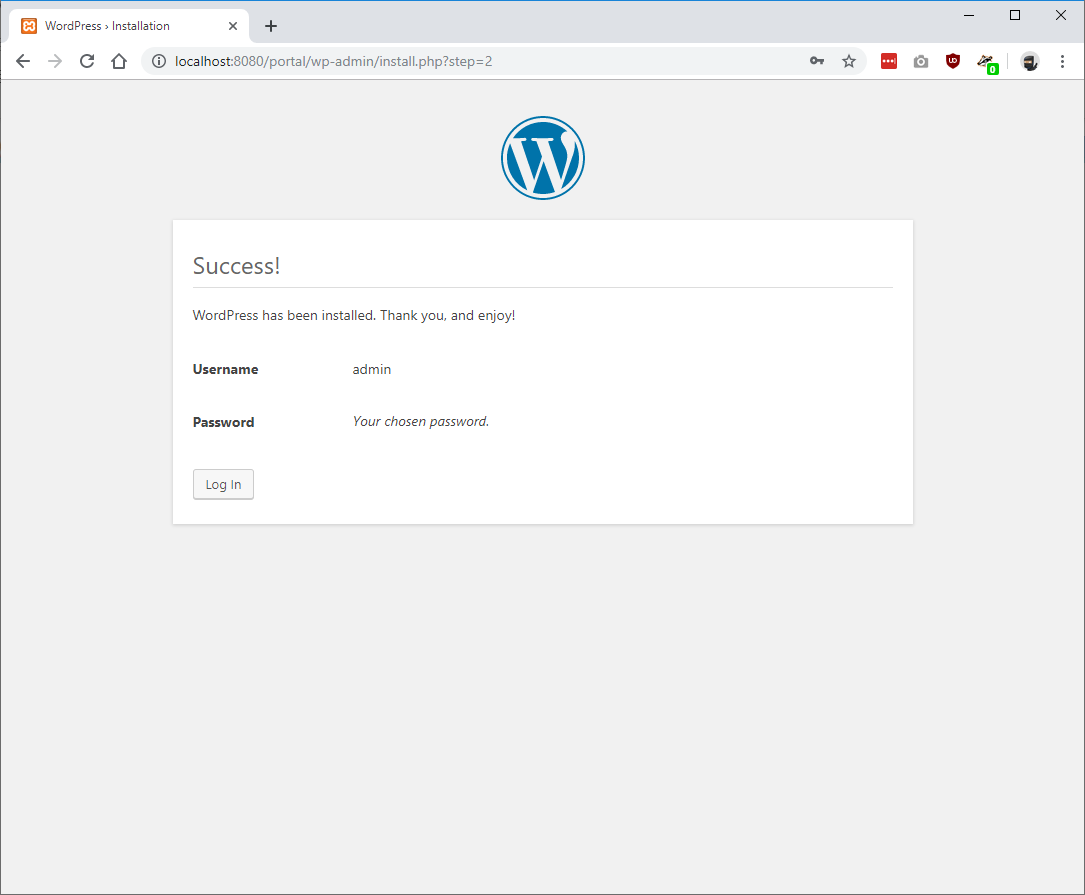
Step 5e – And now you can login with your new admin user:
Resolving display of /var/www/html/dportal.com/wp-content/plugins/query-monitor/wp-content/db.php
After getting WordPress running I immediately started to see “/var/www/html/dportal.com/wp-content/plugins/query-monitor/wp-content/db.php” echoed to every page.
A quick search lead me to HTML Output on site migration · Issue #101 · johnbillion/query-monitor and this comment gave me the answer.
I deleted wp-content/db.php file and no more text.
As this stage I’m not sure what is going to happen when I do this for real and start working in both Windows and my Linux-based IDE.
Resources
XAMPP FAQ – https://www.apachefriends.org/faq_windows.html
How to Install XAMPP and WordPress Locally on PC/Windows – WPMU DEV
How to Troubleshoot and Fix Common XAMPP and WordPress Issues – WPMU DEV